Now that your acquainted with the classes, vehicles, aircraft and all other base installations found in PlanetSide 2, I suppose it is time to teach you some basics of getting yourself around the game.
Usually when you just logged into the game, you will find yourself at the warpgate territory of your faction, on the continent you've last left. And from there, you have the options of either spawning yourself a vehicle/aircraft from the terminals or hitch yourself a ride to get into the battle zones if they're nearby. If the battle zones are further away from your location, then you would have to redeploy yourself via the map interface.
To redeploy, press "M" to get to the map interface and then select either the blue "Instant Action" button near the bottom left corner of your screen or the green "Redeploy" button near the top left corner. The difference in these two buttons is that one would place you right into a heated battle while the other one kills you right on the spot after the countdown finishes.
If you choose the "Instant Action" button, you would be immediately spawned (with your existing infantry setup) right within the vicinity of a hot zone but in a pod at a very high altitude. From there onwards, the pod would start falling (with you in it) until it hits the ground or some elevated plain.
During this drop, you do have some control of your pod using your W, A, S, D keys, but they would at best be minor and sluggish due to the high speed drop rate and perhaps air resistance as well. So they're probably useful for only tweaking your landing point.
If you choose the "Redeploy" button, you would be shown the "Deployment" screen (see above) right after the countdown expires and your killed. Basically, this is the same exact screen you would be interacting with each and every time you die and have to respawn.
The benefit of deploying yourself this way, rather than doing a pod drop, is that you can have the luxury to select where to respawn yourself as well as having more time to orientate yourself upon spawning. Furthermore, planting yourself smack in the middle of a battlefield might not be suitable for the infantry class your choosing nor what your looking for.
Anyway, the things to pick up when your looking at this screen are as follows.
- Deployment Points
Your typical deployment points are mostly at base facilities of which your faction currently holds or from deployed friendly Sunderers. These are represented as green ovals and rectangular-shaped vehicle icons on your map interface respectively. However, they are also conveniently displayed as selectable options on the left-hand side of your screen.
- Reinforcements Needed
These are a group of deployment points where the game system have deemed to be in urgent need of friendly assistance or reinforcements. In some sense, these spawn points represent where the heated conflicts are, but on the other hand, you can also say that the battles occurring there aren't exactly in your favor either.
- Available Services
If you look at the selectable deployment options, right underneath the distance in meters, do you see a set of familiar icons? These icons represent the sort of terminals available at the deployment points. It would be a good idea to look out for them if your planning to drive a tank or pilot an aircraft.
- Population Distribution
The population distribution within a territory is depicted by a pie chart on the bottom right corner of the screen. What you have to realize is that the chart only tells you the distribution ratio of the factions but not their numbers so a 50%/50% distribution might only be 2 people fighting against one another.
- Spawn As
This section of the deployment screen allows you to swiftly switch yourself between the infantry classes (except MAX) instead of having to approach an equipment terminal physically.
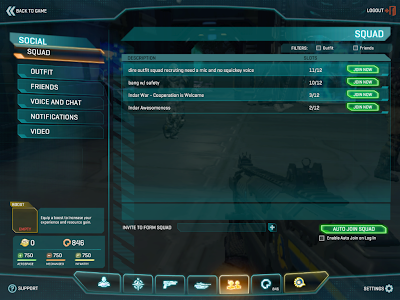
After you've successfully joined a squadron, you may then use the squad deploy button (will become available above the "Instant Action" button) via the map interface or press "Insert" to quickly deploy yourself next to your squad leader. The system will choose the nearest spawn point or do a pod drop if none exists. But do note that you would have to be on the same continent as your squad leader in order for it to work with 100% certainty (apparently sometimes it works and sometimes it doesn't when I use it while being on different continents).
With that, I've come to the end of my featuring of PlanetSide 2. You ought to be able to handle yourself in the game so good luck and most importantly have fun.
| Previous: PlanetSide 2 (Part Five) |


